44.1 kHz vs 48 kHz: Which Sample Rate Should Your Podcast Use?
 Damian Moore, Last updated: 19 October 2026
Open the settings on almost any recorder, interface or editor and you’ll be asked to pick between 44,100 Hz and 48,000 Hz. Forum threads on the question run to hundreds of replies, and plenty of them end with “it doesn’t matter”. For what listeners hear, that’s close to true. For your workflow, it matters a little, and getting it wrong costs you a conversion you didn’t need.
We recommend recording and editing at 48 kHz, then exporting at the rate your destination expects. If the episode is audio only, either rate is fine. If it also becomes video, stay at 48 kHz the whole way.
Where the Two Numbers Come From
A sample rate is how many times per second the audio is measured. Our sample rate explainer shows what that looks like on a waveform.
44.1 kHz comes from the CD. Early digital audio was stored on video tape, and 44,100 samples a second was a number that fitted neatly into the tape formats of the time. CDs kept it, and so did most music since.
48 kHz comes from professional video and broadcast equipment, and cameras, video editors and TV workflows still use it. Most audio interfaces, remote recording platforms and USB microphones now default to it as well.
Listeners Can’t Hear the Difference
A sample rate can capture frequencies up to half its value, so 44.1 kHz reaches about 22 kHz and 48 kHz about 24 kHz. Human hearing tops out around 20 kHz in young adults and lower with age. Speech carries almost nothing up there.
Once the episode is an MP3, the encoder usually filters out the very top of the spectrum anyway to spend its bits on the parts you can hear. At podcast bit rates, both rates end up sounding the same.
Rates above 48 kHz, such as 96 kHz, have uses in music production and sound design, where audio gets pitched or stretched. For a finished spoken-word episode they only make the file bigger.
Why We Recommend Recording at 48 kHz
The real cost is conversion. Every time audio moves from one rate to another, software resamples it. Modern resamplers do this well, but converting back and forth is still work your audio doesn’t need, and mixing rates in one project is how drift and odd glitches creep in.
So the aim is to choose one rate at the start and keep it until export. 48 kHz is the safer choice because:
- Your camera, your remote recording service and your video editor most likely already use it.
- Clips cut for social video stay at their native rate.
- If a guest sends a 48 kHz file, it drops into your project without a conversion.
Set the rate in three places before you record: your audio interface or its control panel, your recording software, and your editing project. If they disagree, one of them is converting behind your back.
Exporting by Destination
At export you decide once, based on where the file is going.
For an audio-only episode, export at 48 kHz if that’s what you edited at. There’s no need to convert down to 44.1 kHz unless your host or network asks for it in its delivery spec. If it does, convert at this final step, with your editor’s best-quality resampling, and nowhere else.
For a video version or clips, keep 48 kHz. Video platforms and editors expect it.
If you edited at 44.1 kHz because that’s what your setup used, export at 44.1 kHz. Converting up to 48 kHz adds nothing.
One thing to avoid is uploading something lower than 44.1 kHz. Some remote recording tools and phone apps capture voice at 32 kHz or less, and a few export presets drop to 22.05 kHz without saying so to save space. That’s where you start to hear a dull, telephone-like edge.
Checking Your File Before Upload
The rate you set in a project isn’t always the rate you get, especially when an export preset or a host’s re-encode is involved. Check the file you’re about to publish, not the session.
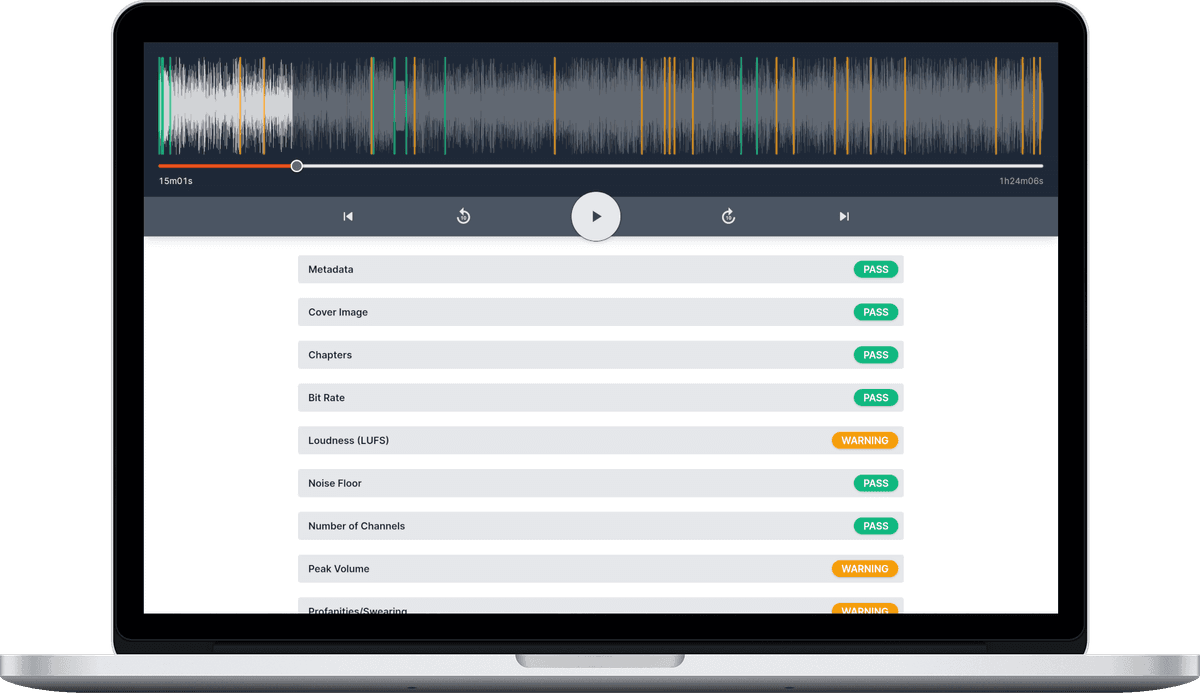
Audio Audit’s Sample Rate check reads the rate of the file itself. It passes anything from 44,100 to 48,000 Hz, warns below that range that the episode could sound low quality, and warns above it that you’re using storage for no audible benefit. The check is Required in all three built-in standards, and you can change the range in a custom standard if your network asks for something specific.
If you use our audio enhancements, the sample rate stays exactly what you uploaded. An MP3 export changes the codec and bit rate, never the sample rate, so enhancing a file never adds a conversion of its own.
While you’re in the export settings, the other two numbers worth a look are sample width for WAV files and bit rate for MP3s. You can upload an episode to Audio Audit and check all three, with your free monthly credits.
Photos courtesy of Pawel Czerwinski