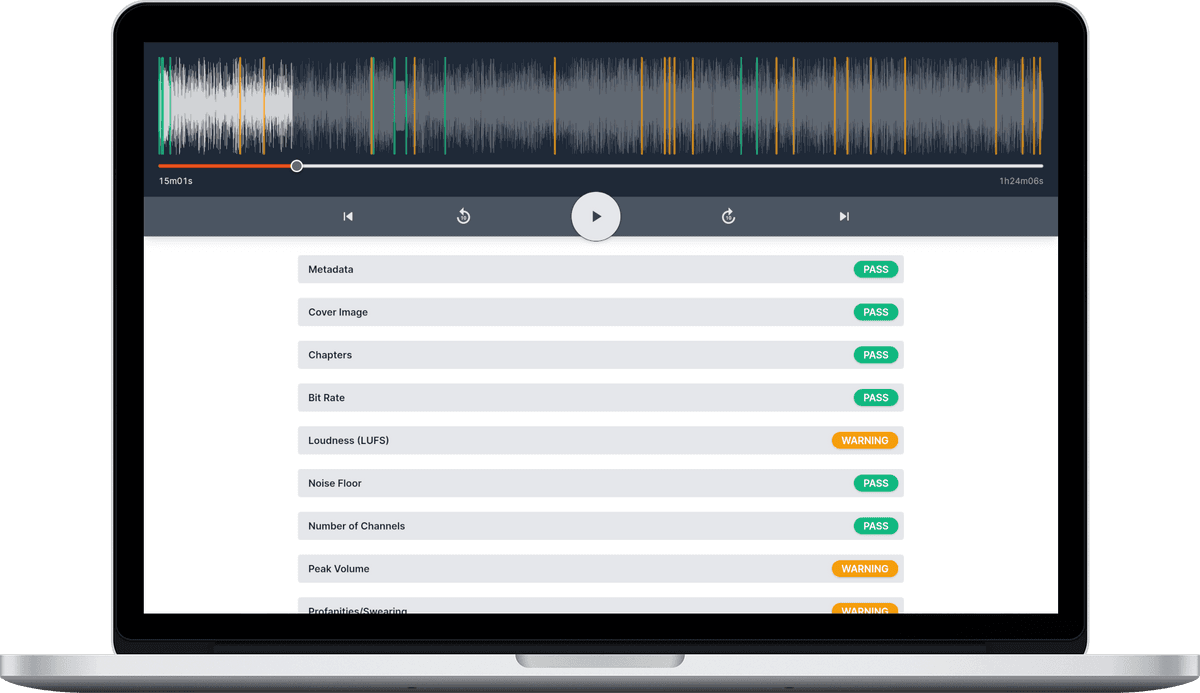
Loudness (LUFS)
![]() Damian Moore, Last updated: 14 October 2024
Damian Moore, Last updated: 14 October 2024
You may have noticed having to turn up the volume to listen to a particular podcast but then have your ears blasted when you receive a phone notification or your player moves onto the next episode in the queue. By adhering to loudness standards you are protecting your listeners’ hearing and ensuring a consistent and pleasant experience. Arguably getting loudness correct is more important for podcasters than say TV producers due to the fact that most people are listening to podcasts with headphones/earbuds and often the volume has to be louder to compensate for noisy environments. Therefore audio that is too quiet can be more damaging than audio that is too high.
So what is the meaning of LUFS and what does it stand for? LUFS (also known as LKFS) stands for “Loudness Units Full Scale” and is a way of measuring average audio levels using the decibel (dB) scale. There have been several mechanisms used to gauge the loudness of an audio track over the years. Just taking the “True Peak” value is not representative and is easily biassed, RMS (Root Mean Square) is better as it averages over the time period but is still heavily influenced by things like gaps of silence. The LUFS standard goes a step further and aims to represent loudness in a way that humans perceive it. It has been adopted across TV, film, music, and radio stations for many decades now.
Apple is the dominant authority when it comes to podcast standards and recommends “-16 dB LKFS [LUFS], with a +/- 1 dB tolerance”. Factoring in the tolerance, our recommended range is -17 to -15 LUFS. This can be considered the “podcast LUFS standard” and a very strong guideline of best practices.
Industry usage
Here are a list of common LUFS target recommendations for different media and industries:
- Podcasts: –16 (±1) LUFS
- Music Streaming (Spotify, Tidal, Amazon Music): –14 LUFS
- Music Streaming (Apple Music): –16 (±1) LUFS
- Video Streaming (Netflix, Disney, HBO): -27 LUFS
- Video Streaming (YouTube): –14 LUFS
- TV (Europe, ex. Italy): –23 (±0.5) LUFS
- TV (USA, Australia, Japan, Italy): –24 LUFS
- CD: –9 LUFS
Why is there so much variation in these standards? Well it’s just hard to get audio engineers to agree on things and there is tradition involved. Some specify a maximum value while others specify a +/– range so you can often get one mastering to fit to multiple platforms. With TV they are mainly concerned with maximum values so that advertisers can’t blast out louder than the shows they’re interrupting.
It is said that TV and Film has lower LUFS targets to reduce listener fatigue and they may have a point. TV/Film does tend to have a slower pace with more gaps of audio so this could allow for that whist still leaving room for high volume dynamics like explosions etc. There is ongoing debate about what is ideal and the dynamic range of the the signal over time is a large part. The biggest problem in today’s world would seem to be when moving between applications on a single device — for example on a smart TV going from Netflix to YouTube. The reason is YouTube comes from a web content perspective and may sound very loud compared to Netflix which is coming more from TV and film in terms of standards. It would seem that operating systems/devices need to define their own target LUFS levels and for apps to adjust their internal LUFS to that.
You may hear of Integrated, Short-term, and Momentary LUFS which look a different time windows. For our purposes and elsewhere, where not specified, LUFS refers to the Integrated version which measures over the whole of a track.
Mastering for a LUFS target
Most DAW software has a filter to alter volume to a chosen LUFS target or the option to process it during MP3 file export. We’ll show you how to make this adjustment using the most popular tools. We’ll be updating this page with more solutions as time goes on and we figure them all out ourselves. If you tool isn’t listed here and you know it supports this feature, please let us know so we can add it.
Audacity
LUFS Loudness Normalisation is a relatively recent effect added to Audacity in June 2020 so you may need to upgrade if you have an old version. You’ll need version 2.4.1 or above to use it. The Audacity LUFS feature can be used as follows…
First select your track(s) then from the top menu choose “Effects” and then “Loudness Normalization”. A dialogue will appear. Select “perceived loudness” from the dropdown options and enter “-16” as the LUFS value for podcasts.
You can read more in Audacity’s own documentation for the feature.
Logic Pro
- Sound Advice — Normalising in Logic Pro X
- Mikael Baggström — Normalize Audio Clips in Logic Pro X (Tutorial)
Pro Tools
Reaper
Adobe Audition
DaVinci Resolve
Header photo: Jonathan Taylor

